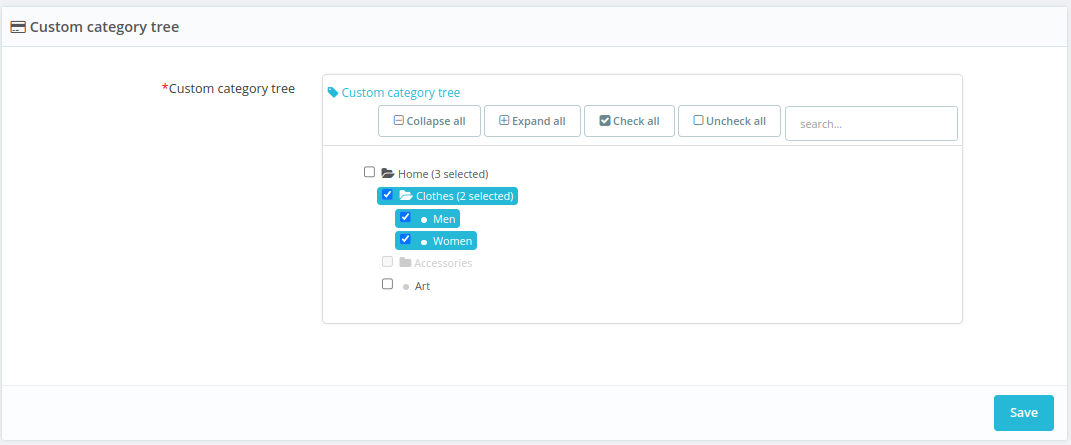
In this blog, we will learn how to render the native PrestaShop category tree in our custom form. As we know that “HelperForm” class provides an input type “categories” by using this we can render the category tree.
ie:
But how we can render this category tree when we are using a custom form? To do this, we will use the “HelperTreeCategories” class.
Here is the list of important methods of the “HelperTreeCategories” class:
|
Method
|
Description
|
|
setTitle()
|
Title of the category tree
|
|
setRootCategory()
|
Root category for the category tree
|
|
setInputName()
|
Name of the category tree
|
|
setSelectedCategories()
|
An array of the category IDs to display as selected
|
|
setUseCheckBox()
|
Set to “true” if you want to multiple categories selection
|
|
setUseSearch()
|
Set to “true” if you want to display the search box in the category tree
|
|
setDisabledCategories()
|
An array of the category IDs that are to be disabled
|
|
render()
|
The output of the category tree in the HTML format
|
Important HelperTreeCategories methods
Add the below code to your module controller/main file:
Note: You must have to pass the ID of the category tree as the first constructor parameter when creating the “HelperTreeCategories” class instance. ID parameter is mandatory. You can also pass some other optional parameters like the title of the category tree, the ID of the root category, language ID, and shop restriction.
Add the below code in your custom form template file:
The category tree will look like this:

That’s all about this blog.


